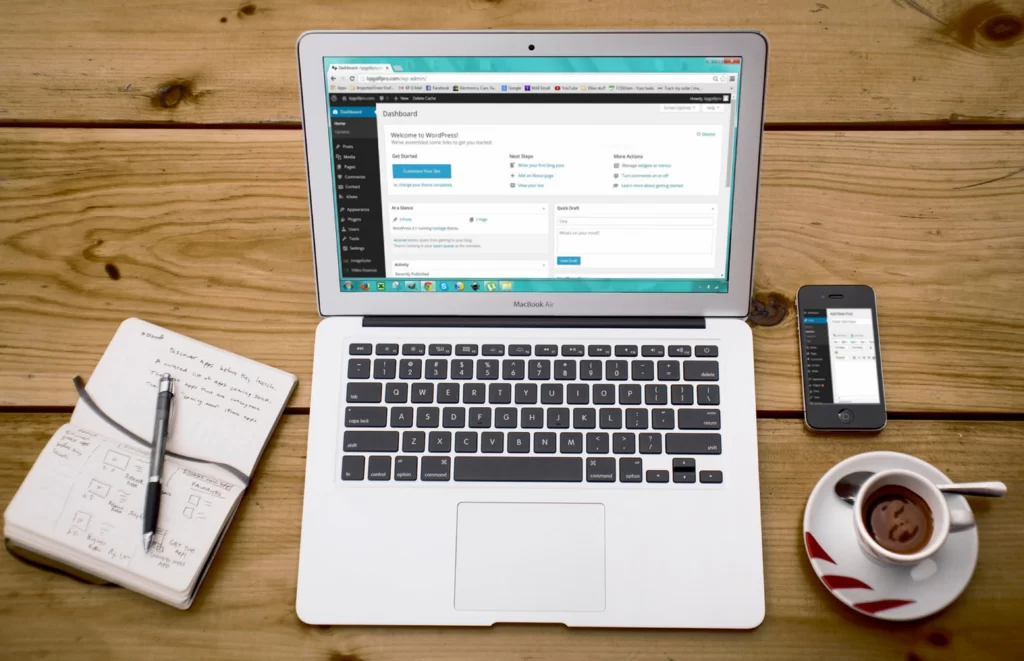
You’ve always wanted to create a website but thought it was too complicated and expensive. Well, think again! Creating a website is now easier and more affordable than ever before. In fact, you can create a website for free using one of the many free website builders available online. So what are you waiting for? Get started today and see how easy and fun it is to create your very own website!
1. Introduction
Creating a website is a great way to share your ideas and connect with others. You don’t need to be a tech expert to create a website. With today’s technology, anyone can create a website for free. There are many free website builders that you can use to create your website. All you need is a computer and an internet connection.
Follow the steps in this guide and you’ll have a website up and running in no time!
2. A step-by-step guide to creating a website
2.1 Setting up your hosting and domain
The following steps are as per the pages as of the date of writing this article. This may not be the same always as Hostinger may change it at any time. So you may have to change the steps accordingly.
The first step to creating your website is to set up your hosting and domain. Hosting is essentially the foundation that will support your website. It’s where your website’s files and databases will be stored. Your domain is your website’s address on the internet. Once you have a domain, people can find your website by typing it into their browser’s address bar.
There are many different hosting providers to choose from. Some of the most popular ones include Hostinger, Bluehost, HostGator, and SiteGround. For this guide, we’ll be using Bluehost since it offers a free domain for one year when you sign up for hosting.
To get started, go to www.hostinger.com and click on the “Claim Deal” button.
On the next view, you’ll need to select your hosting plan. For most users, the 48 Months “Premium Web Hosting” plan will save the most money.
Then create an account by using your email account or you can use your Facebook or Google Accounts for faster account creation.
On the next page, you’ll be asked to enter your payment information. Once you’ve entered your payment information, click on the “Submit Secure Payment” button to finish setting up your hosting account.
After the successful creation of your subscribed account, enter your domain name into the “new domain” field. If you don’t have a domain yet, don’t worry! You can get it for free through Hostinger for one year.
2.2 Installing WordPress

Now that you have your hosting and domain set up, it’s time to install WordPress. WordPress is a content management system (CMS) that will allow you to easily create and manage your website’s content. Best of all, it’s free!
To install WordPress, log in to your Hostinger account and click on the “Websites” tab. Then, click on the “Create or Migrate a Site” button. Then select “Create a new website” and then select “WordPress” or “Hostinger Website Builder”. WordPress shall give you a blank slate and more control whereas the website builder shall be more easier to operate and more professional design from the beginning.
Follow the instructions if you have chosen the WordPress option:
Now, you’ll need to choose a domain for your WordPress site. If you’ve already set up a domain through Hostinger, you can select it from the drop-down menu. Otherwise, you can purchase a new domain directly through WordPress.
Once you’ve selected or purchased your domain, click on the “Continue” button.
On the next page, you’ll be asked to enter some basic information about your website, such as your site title and tagline. Once you’ve entered this information, scroll down and click on the “Install WordPress” button.
Hostinger will now begin installing WordPress on your website. This may take a few minutes to complete. Once it’s finished, you’ll see a success message letting you know that WordPress has been installed successfully.
Click on the “View Credentials” button to view your WordPress login URL, username, and password. Write down or save this information somewhere safe as you’ll need it later when logging in to WordPress. Then, click on the “Launch Admin Panel” button to go to your WordPress dashboard.
2.3 Designing Your Website
Now that you have WordPress installed on your website, it’s time to start designing it! There are two parts to designing your website: choosing a theme and adding plugins.
A theme is a pre-designed template that you can use to give your website a specific look and feel. WordPress has thousands of themes to choose from, both free and premium (paid). You can browse through themes by going to Appearance > Themes in your WordPress dashboard.
If you’re unsure of what kind of theme to choose for your website, don’t worry! You can always change your theme later if you decide you want something different.
To install a theme on your website, hover over it and click on the “Install” button. Once it’s finished installing, click on the “Activate” button to activate it on your website.
Now that you have a theme installed and activated on your website, it’s time to add some plugins. Plugins are extensions for WordPress that add additional features and functionality to your website. Like themes, there are both free and premium plugins available. You can browse through plugins by going to Plugins > Add New in your WordPress dashboard
3. Conclusion
Overall, creating a website for free is a great way to get started online without having to spend any money. There are many different platforms that you can use to create your website, so be sure to do your research to find the one that best suits your needs. Once you have your website up and running, be sure to promote it so that people can find it and start using it!
By following the simple steps outlined in this guide, you can create a website for free today. Whether you want to use it for personal or business purposes, a website is a great way to reach a wider audience. So what are you waiting for? Get started today! If you need any help then please visit our website.


